1. Choose the correct needle for your thread.
Thread Type Needle
Glory Milliner #7
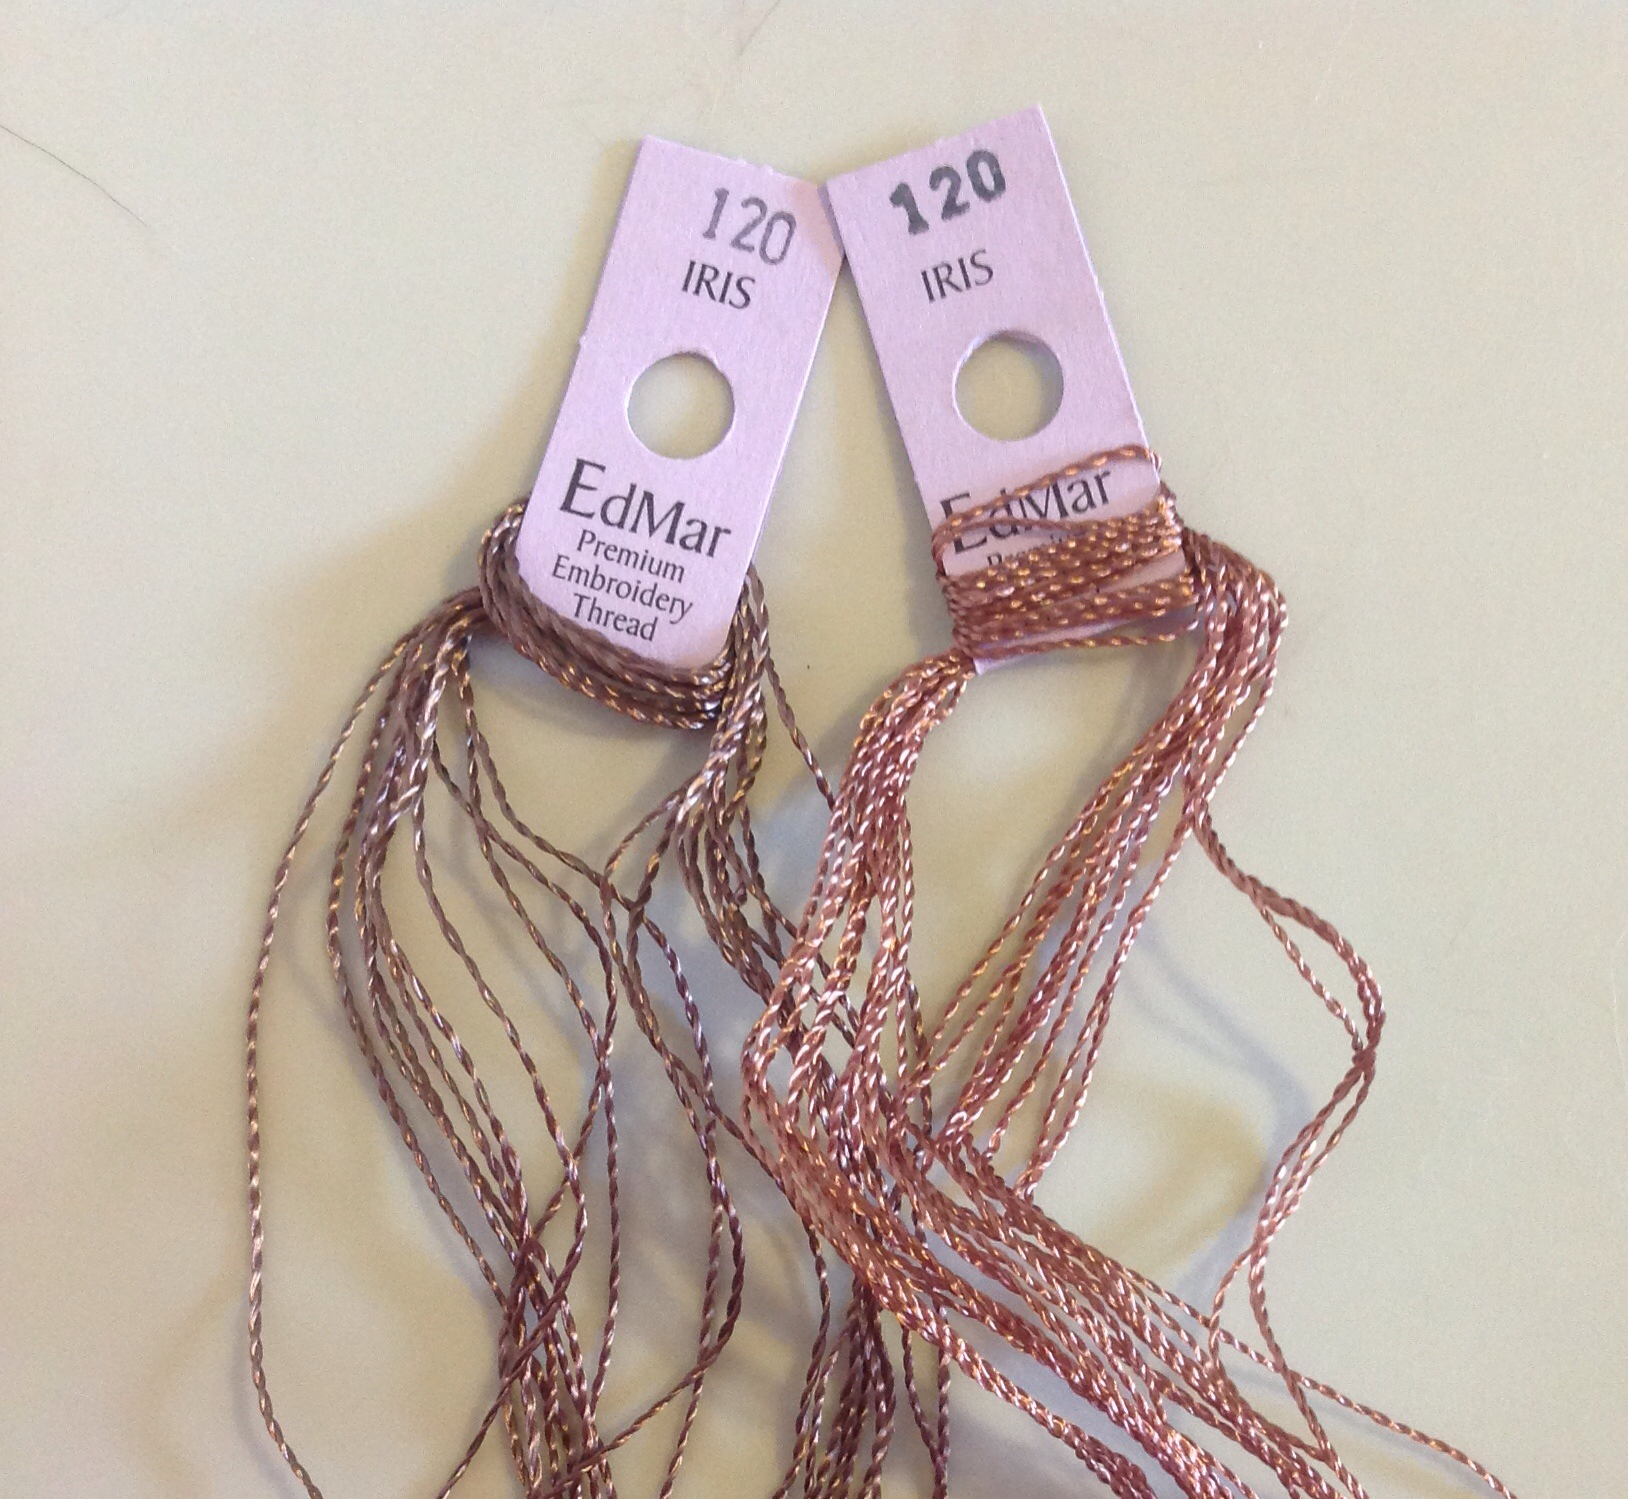
Iris Milliner #5
Lola Milliner #1
Nova Darner #18
Frost Milliner #3
Circe Milliner #1
Boucle Darner #18
2. Buy all the thread you will need for a project at one time.
As good as EdMar thread is, its dye lots are notoriously difficult to match. So if you have a project that will need a lot of one color, buy more than you think you will need. It will save you a lot of stress. Additionally, don't necessarily expect that the colors will look the same in the different threads. If your Boucle is from one dye lot and the Iris is from another, you can't count on them being even similar. It is sometimes depressing to see the lack of consistency in color, but since most traditional Brazilian embroidery is floral, you can "blame" the changes in shade on nature.
3. To start off a thread, make a quilters knot.
To make a quilters knot, thread your needle. Then lay about 1/4 inch of the opposite end against the tip of your needle with the end pointing toward the eye of the needle. Hold the end in place and wrap the rest of the thread three times around your needle in a clockwise direction. Finally, pull the thread through the knot. Now you have a knot that won't slip apart. To make it even stronger, you can fray the end of your thread, although I usually don't.

Now you are ready to prep your first project. I'll discuss that next week.
No comments:
Post a Comment